


WTF is Dither? A Practical Guide to Audio Dithering for Home Studios
Quick summary
Dither: It’s a term that often sparks confusion and debate among home studio owners. But what exactly is it, why do we need it, and how do you use it correctly in your audio production workflow? This guide, inspired by the brilliant insights of audio expert Dan Worrall, cuts through the noise to give you a clear, practical understanding of dither.
Inspired by the video tutorial by Dan Worrall.
What’s In This Article
- What is Dither and Why Do We Need It?
- The Problem: Quantization Distortion
- The Solution: Dither and Noise Shaping
- Testing Dither: A Practical Approach
- Comparing Native vs. Third-Party Dither
- Dither Placement and Gain Changes
- Dither in the Real World: Mastering, Sample Rates, and MP3s
- The “Dither Once” Rule Explained
- Sample Rate Conversion and Dither
- Dithering for MP3s
- Key Takeaways for Your Home Studio
Key moments in the video
- 0:33 — Introduction to Dither & Testing
- 1:03 — 64-bit Processing & Resolution
- 2:15 — Preparing a Reverb Tail for Testing
- 3:33 — Rendering 16-bit Files (No Dither, Dither, Noise Shaping)
- 4:53 — Listening to 16-bit No Dither (Quantization Distortion)
- 5:26 — Listening to 16-bit Dither (Preserved Tail, Noise)
- 6:03 — Listening to 16-bit Dither + Noise Shaping (Less Obnoxious Noise)
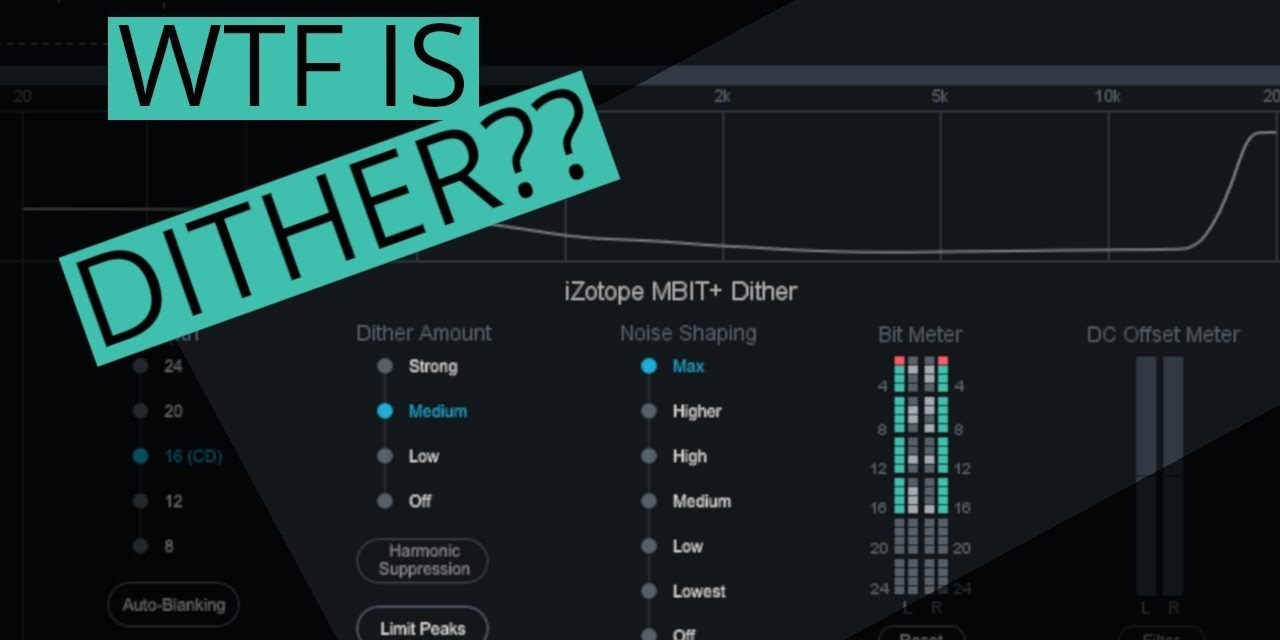
- 6:43 — Comparing iZotope MegaBit+ Dither
- 8:33 — Dither Placement & Gain Changes (Master Fader at Unity)
- 9:48 — First Rule of Dither: Always use Dither for 16-bit
- 10:24 — Testing 24-bit Dither (Extreme Attenuation -108dB)
- 12:46 — Second Rule of Dither: Always use Dither for 24-bit (but problems are inaudible)
- 13:14 — Clarifying the “Dither Once” Rule
- 14:14 — Sample Rate Conversion & Dither (Dither Last)
- 16:12 — MP3 Dither Test (DAW vs. Sound Forge Decoding)
- 20:50 — Conclusions on MP3 Dither
Dither. It’s one of those terms in audio production that can make even experienced home studio owners scratch their heads. What the heck is it? Do you really need it? And what happens if you get it wrong?Thankfully, audio expert Dan Worrall has created an incredibly practical, no-nonsense tutorial, “WTF is Dither?” that demystifies the entire concept. This article is a detailed write-up of Dan’s insights, designed to give you a clear understanding so you’ll never have to worry about dither again.At its core, dither is the intentional addition of a small amount of random noise to a digital audio signal during bit depth reduction. Why? Because when you reduce the bit depth of a file (say, from a 32-bit floating point mix down to a 16-bit CD master), you’re essentially losing resolution. Without dither, this loss manifests as harsh, unpleasant quantization distortion, especially at low signal levels [1]. Dither smooths out this distortion, preserving detail and even extending the perceived dynamic range of your audio.We’ll walk through Dan’s clever testing method, explore the nuances of dither in various scenarios, and clarify common misconceptions. Let’s dive in.
[bloom_inline optin_id=”optin_11″]
What is Dither and Why Do We Need It?
In the world of digital audio, sound is represented by a series of numbers. The bit depth determines how many possible values each sample can have, essentially defining the dynamic range and resolution of your audio. Higher bit depths (like 24-bit or 32-bit float) offer a massive dynamic range, far exceeding human hearing. However, when you reduce that bit depth—say, from a 24-bit mix to a 16-bit file for CD or streaming—you’re forcing the audio data into a smaller number of possible values.
The Problem: Quantization Distortion
When a high-resolution signal is converted to a lower bit depth without dither, the audio literally gets ’rounded off’ to the nearest available value. This rounding error isn’t random; it’s directly related to the signal itself, creating what’s known as quantization distortion. This distortion is particularly noticeable at very low signal levels, where the audio might be represented by only one or two bits flipping on and off, or even drop off entirely into silence.
Dan illustrates this with a simple test: he takes a reverb tail, attenuates it by -60dB (making it virtually inaudible), and renders it as a 16-bit file without dither. The result, when boosted back up by +60dB, is a horrific, crunchy distortion, followed by the reverb tail abruptly cutting off to silence. The audio has literally dropped below the ‘floor’ of the 16-bit resolution.
The Solution: Dither and Noise Shaping
This is where dither comes in. By adding a tiny amount of random noise to the signal before bit depth reduction, dither randomizes the quantization errors, transforming that harsh, signal-dependent distortion into a constant, low-level white noise. While this noise is audible (especially if you boost the signal by +60dB as in Dan’s test), it’s far less objectionable than quantization distortion. Crucially, dither also helps preserve the low-level detail that would otherwise be lost, effectively extending the perceived dynamic range and allowing those quiet reverb tails to decay smoothly.
Noise shaping takes dither a step further. It’s a process that moves the dither noise to less audible frequency ranges (typically pushing it up towards higher frequencies, where human hearing is less sensitive). This makes the dither noise sound much less obnoxious, often perceived as softer or warmer, while still providing all the benefits of dither.
Testing Dither: A Practical Approach
Dan Worrall’s testing method is brilliant for understanding dither and verifying your DAW’s implementation. He recommends periodically testing your DAW’s dither, as bugs can sometimes creep into algorithms. Here’s a simplified breakdown of his process:
- Prepare a Test Signal: Start with a clean, 24-bit audio sample (like a snare drum hit). Ensure your DAW is processing at a high bit depth (e.g., 64-bit float internally).
- Add a Long Reverb Tail: Apply a lush reverb to your sample. The long, decaying tail is crucial for illustrating how dither preserves low-level information.
- Attenuate the Signal: Drop the gain of your reverb tail significantly. For a 16-bit test, Dan uses -60dB. For a 24-bit test, he goes even further, to -108dB. This pushes the signal deep into the noise floor, making any quantization issues obvious.
- Render Multiple Versions: Render your attenuated reverb tail as different files:
- Boost and Listen: Create a new project, import all rendered files, and boost their gain by the exact amount you attenuated them (+60dB for 16-bit, +108dB for 24-bit). Now, listen critically.
- 16-bit No Dither: Horrendous, crunchy distortion at low levels, followed by the reverb tail cutting off to absolute silence.
- 16-bit With Dither: A constant, albeit obnoxious, noise throughout the signal, but the reverb tail decays smoothly and perceptibly for much longer, demonstrating the preserved dynamic range.
- 16-bit With Dither + Noise Shaping: The reverb tail is still preserved, but the noise is significantly less objectionable and often sounds softer or warmer.
- 24-bit No Dither (at -108dB attenuation): Just as crunchy and distorted as the 16-bit version, but 48dB lower in level.
- 24-bit With Dither + Noise Shaping (at -108dB attenuation): Sounds clean, with the reverb tail decaying smoothly, proving dither is still beneficial even at this extreme attenuation, though practically inaudible.
Comparing Native vs. Third-Party Dither
Many DAWs offer their own native dither options, while specialized mastering plugins (like iZotope Ozone, which Dan uses for demonstration) provide their own proprietary dither algorithms (e.g., MegaBit+). Dan compares Reaper’s native dither with Ozone’s, finding that while the Ozone dither might sound slightly different (e.g., warmer, softer noise due to different noise shaping curves), the practical difference is negligible unless the signal is boosted by an extreme amount like +60dB.
While some mastering engineers might swear by a specific dither algorithm, for most home studio owners, the difference between a good native DAW dither and a ‘posh’ third-party one is unlikely to be audible in a finished mix.
Dither Placement and Gain Changes
Dither noise is carefully calculated. It’s crucial that dither is the absolute last process in your signal chain before rendering to a lower bit depth. This means it should come after any master fader adjustments. If you have a dither plugin on your master channel and then change the master fader level, you risk messing up the carefully calculated dither noise.
Dan demonstrates this by applying dither, then dropping the master fader by -6dB. When boosted back up, the dither still works to preserve the reverb tail, but the noise shaping is broken, resulting in a much harsher, brighter noise. So, if using dither on the master channel, keep that fader at unity (0dB).
Dither in the Real World: Mastering, Sample Rates, and MP3s
The “Dither Once” Rule Explained
You’ve probably heard the rule: “Only dither once.” This is a common point of confusion. Dan clarifies that this rule is often misunderstood and should really be interpreted as: “Only dither to 16-bit once.”
The noise added by 24-bit dither is so incredibly low in level (over 100dB down) that it’s practically inaudible and will be completely masked when you eventually dither down to 16-bit. So, if your workflow involves rendering a 24-bit mix, then mastering it (which might involve further processing that requires dither), and finally converting to 16-bit, it’s perfectly fine to apply 24-bit dither during intermediate stages. The critical part is that the final conversion to 16-bit should only have dither applied once.
Stick to 24-bit or higher for all your production and mixing. Only apply 16-bit dither once, right at the very end of your mastering chain, when converting your final master to a 16-bit file.
Sample Rate Conversion and Dither
What if you need to convert the sample rate (e.g., from 48 kHz to 44.1 kHz) in addition to reducing bit depth? The rule here is: always dither last.
- First, convert your sample rate (e.g., 48 kHz to 44.1 kHz). Modern sample rate converters (SRC) often operate at high floating-point resolutions (e.g., 64-bit). This means your audio data temporarily exists at a higher resolution than your original 24-bit file, preserving detail.
- Second, if you then save that file to a fixed-point format like 24-bit WAV, it will be truncated. To avoid 24-bit quantization distortion, you should explicitly add 24-bit dither before saving.
- Alternatively, if you know you’ll be converting sample rates, you could render your initial file as a 32-bit floating-point file. This format doesn’t require dither until you eventually drop down to 16-bit.
Dithering for MP3s
This is another tricky area. When rendering to MP3, many DAWs (like Reaper, in Dan’s example) gray out the dither options. This is because MP3 encoders are typically floating-point, meaning they don’t immediately truncate your audio to a fixed bit depth like 16-bit. So, in theory, dither isn’t needed during the encoding process itself.
However, the problem arises when the MP3 is decoded. Many playback devices and software decode MP3s to a 16-bit PCM file. If your original file wasn’t dithered to 16-bit, that 16-bit decoding process will introduce quantization distortion. Dan demonstrates this by showing an MP3 that sounds fine in Reaper (which decodes it at a higher resolution) but sounds crunchy and distorted when imported into Sound Forge (which decodes it as 16-bit PCM).
It’s a safer bet to encode MP3s from a 16-bit dithered source. This means either manually adding 16-bit dither when rendering MP3s from your DAW (if the option exists), or rendering a 16-bit WAV file with dither first, and then converting that WAV to MP3 as a separate step.
Key Takeaways for Your Home Studio
After this deep dive, you should feel much more confident about dither. Here are the essential rules to remember:
Key takeaways
- Dither is essential for reducing harsh quantization distortion when converting audio to a lower bit depth, especially to 16-bit.
- Noise shaping improves dither by moving its noise to less audible frequency ranges, making it sound smoother.
- Test your DAW’s native dither periodically using an attenuated reverb tail and extreme gain boost.
- The difference between native DAW dither and ‘posh’ third-party dither is often negligible in practical mastering.
- Dither must be the absolute last process in your signal chain, after any master fader adjustments.
- The ‘dither once’ rule means ‘only dither to 16-bit once’. 24-bit dither can be applied multiple times without issue.
- When sample rate converting, convert the sample rate first, then apply dither as the final step.
- For MP3s, even if your DAW greys out dither options, it’s safest to encode from a 16-bit dithered source to prevent decoding distortion.
Frequently asked questions
What is the basic definition of dither in audio?
Dither is the intentional addition of a small amount of random noise to a digital audio signal when reducing its bit depth. Its purpose is to randomize and mask harsh quantization distortion, preserving low-level detail and extending the perceived dynamic range.
When should I use dither?
You should use dither any time you are reducing the bit depth of an audio file. This is most commonly when converting a high-resolution mix (e.g., 24-bit or 32-bit float) down to a lower resolution for final delivery (e.g., 16-bit for CD, streaming, or video).
What is the difference between dither and noise shaping?
Dither adds random noise to eliminate quantization distortion. Noise shaping is a technique applied on top of dither that spectrally shapes this added noise, pushing it into less audible frequency ranges (typically higher frequencies) to make it sound less objectionable, while still retaining dither’s benefits.
Should I dither when creating 24-bit files?
While technically beneficial, the quantization distortion in a 24-bit file without dither is so incredibly low (-108dB below a full-scale signal) that it’s practically inaudible. You can dither to 24-bit, but if you forget, no one will ever notice. The main concern for dither is when converting to 16-bit.
How many times should I dither?
The common rule “only dither once” is better understood as “only dither to 16-bit once.” You can apply 24-bit dither multiple times during a production workflow without issue because its noise is so low. The crucial step is to apply 16-bit dither just once, at the very end of your mastering chain, when making the final conversion to a 16-bit file.
Do I need to dither when rendering MP3s?
MP3 encoders are typically floating-point, so dither options in DAWs are often grayed out. However, many playback devices decode MP3s to 16-bit PCM. If your source wasn’t 16-bit dithered, this decoding can introduce quantization distortion. It’s safest to render your MP3s from a 16-bit dithered file (either by adding 16-bit dither directly or by converting a 16-bit dithered WAV to MP3).
Want to see the whole walkthrough? Watch the full video on YouTube.

