















The Easiest Way to Get BRUTAL Metal Screaming Vocals in Your Mix
Quick summary
Transform thin, weak metal screaming vocals into brutal, powerful performances that cut through any dense mix. This guide reveals a simple yet effective processing chain using EQ, formant shifting, and parallel distortion to achieve a truly aggressive sound without complex plugin setups.
What’s In This Article
Key moments in the video
- 0:00 — How to make screaming vocals sound more brutal
- 0:31 — Essential vocal clean up steps
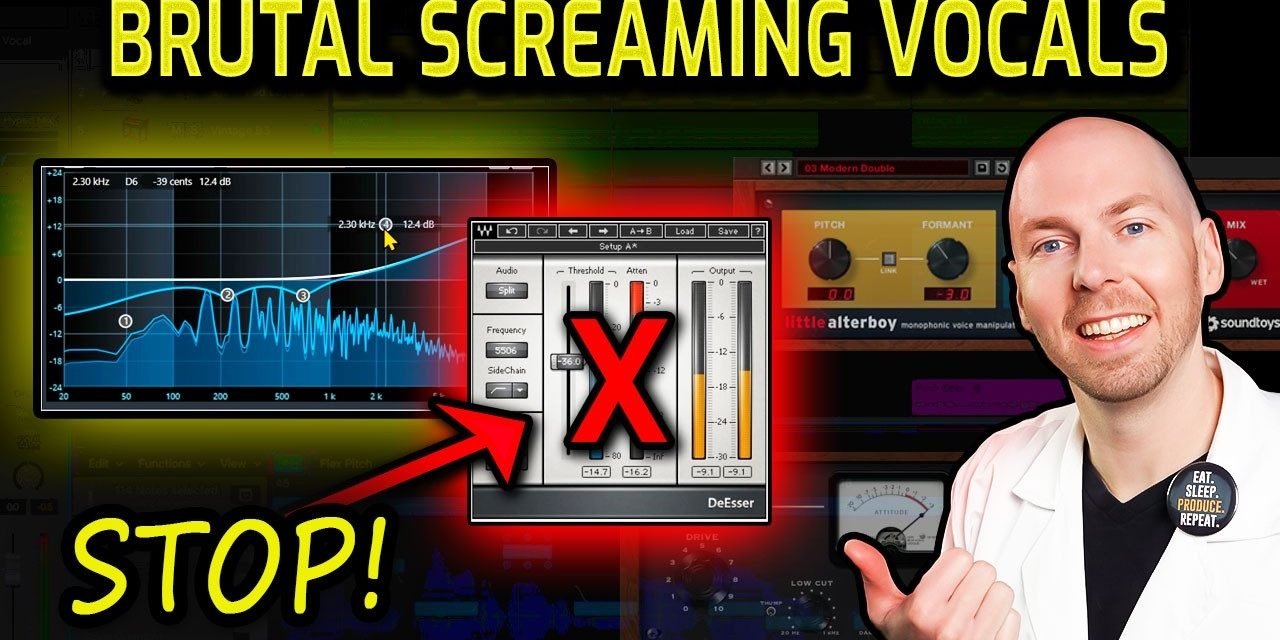
- 2:31 — Dealing with Sharp and Piercing Screaming Vocals
- 3:20 — My Favorite Plugin for Making Vocals Brutal (Little Alter Boy)
- 7:45 — Making the vocal even more brutal and demonic!
- 8:04 — My other favorite trick for adding aggression to extreme vocals (Decapitator)
- 9:50 — Dialing in a good texture using parallel processing
- 10:06 — Important considerations when using parallel distortion
- 11:01 — Before and After My Extreme Vocal Plugin Chain
Enjoying the Video?
Get more home-studio tutorials, mixing breakdowns, and gear deep-dives every week.
You’ve poured hours into recording a killer, aggressive vocal performance, only to hear it back in the mix and realize it sounds thin, weak, and gets completely lost. This is one of the most frustrating challenges in metal and rock music production. But what if I told you that you don’t need a super complicated plugin chain or an expensive microphone to fix this? I’m going to show you my dead simple, yet incredibly effective, approach to making those screaming vocals sound brutal, powerful, and able to hold their own in even the densest mix. We’ll achieve this using a few key plugins and smart processing techniques, ensuring your aggressive vocals cut through and deliver the impact they deserve.

Essential Vocal Cleanup: Setting the Foundation
Before we dive into the fun stuff that makes vocals sound brutal, there are some non-negotiable cleanup steps we need to take. A clean, solid foundation is crucial for any aggressive vocal performance to truly shine in a dense mix. We’ll start with simple EQ.
Taming the Low-End Woes with EQ
Aggressive vocal performances, especially when close to the microphone, often pick up a lot of unwanted low frequencies due to the proximity effect and the sheer amount of air involved. These frequencies add muddiness and eat up valuable headroom in your mix without contributing anything positive to the vocal tone.
- Low Shelf: Start by applying a low shelf filter to gently roll off some of that excess low-end energy. Don’t be afraid to be aggressive here, as truly low frequencies rarely benefit a screaming vocal.
- Parametric Cut: Next, use a parametric EQ band to sweep and find any ‘woolly’ or ‘gross’ frequencies that are making the vocal sound muddy or indistinct. These are usually in the lower-mid range. Once you find them, cut them out. Be careful not to thin out the vocal too much; you still want to retain some ‘chest’ for a powerful sound.
- Check for Clarity: Play the vocal in context with the rest of your mix to ensure your EQ moves are enhancing clarity without sacrificing impact. We want a powerful sound, not a thin one.
If you struggle with finding the right EQ moves, grab my free Rock and Metal Mixing Cheat Sheet. It includes common EQ and compressor settings I use, all on a handy printable guide.
Dealing with Sharpness and Dynamics
Sometimes, aggressive vocals can get incredibly bright, sharp, and even piercing. While a little bit of ‘piercingness’ can add to the aggressive character, too much can be fatiguing for the listener.
- De-esser: If your vocal is overly sibilant or has harsh ‘T’ and ‘S’ sounds, a de-esser like the Waves DeEsser can help tame those frequencies. I personally like a bit of that piercing quality for aggression, so I might use it subtly or skip it if the vocal isn’t excessively harsh.
- Limiter for Gain Staging: I often place a limiter, such as the Waves L1, on my vocal track. This isn’t necessarily for heavy dynamic control, but primarily for gain staging. It helps catch any unexpected peaks and allows me to easily adjust the overall level of the scream in the mix, ensuring it stays consistent. If your recorded vocals are highly dynamic, a limiter can also be used to ‘squash’ them down and bring out more of the performance, making the level consistent.
Unleashing Brutality with Formant Shifting (Little Alter Boy)
Now for the fun part: making those vocals truly brutal! One of my favorite, and perhaps underutilized, plugins for this is Soundtoys Little Alter Boy. While often used for pitch-shifting effects, its formant control is a secret weapon for aggressive vocals.
- Unlink Pitch & Formant: When you first open Little Alter Boy, the pitch and formant controls are usually linked. For a natural-sounding but heavier and more aggressive vocal, unlink them.
- Drop the Formant: Dial the formant control back just a tiny bit. Dropping it by about 1.9 to 3 steps is often the sweet spot. This changes the tonality and character of the voice, giving it an intensely angry and powerful sound. It’s hard to explain, but you’ll hear the difference immediately.
- Set Mode to Transpose: Ensure the mode is set to ‘Transpose.’ Avoid ‘Quantize’ or ‘Robot,’ as these will introduce glitchy or monotonous, robotic sounds that aren’t what we’re going for here.
- Add Drive: Incorporate a bit of ‘Drive’ to give the vocals a fuzzy grit. This helps them fill out space in the mix and adds another layer of aggression. Adjust until you find a spot where it starts to break up nicely, then back it off slightly if it becomes too bright or loses clarity. I typically keep the mix knob mostly wet for this effect.
- Re-EQ for Clarity: After applying Little Alter Boy, you might notice some clarity loss or new muddy frequencies. Add another EQ after Alter Boy and use a broad band to sweep and find the sweet spot where vocal clarity pops. Also, revisit the low-end and add another low shelf if needed, rolling off unnecessary low energy to keep the mix clean and prevent headroom issues. Adjust the Q value to control the steepness of the low-end roll-off.
For even more brutality, try dropping the overall pitch in Little Alter Boy a tiny bit after dialing in the formant and drive. This can make the vocal sound even more demonic and powerful.
Adding Aggression with Parallel Distortion (Decapitator)
To push the aggression even further, we’ll introduce parallel processing with a distortion or saturation plugin. Soundtoys Decapitator is my go-to for this, as it offers incredible versatility for adding grit and texture.
- Create an Effects Track: Set up a new effects (or aux) track in your DAW. Insert Decapitator on this track.
- Send Signal to Effects Track: On your main scream vocal track, use a ‘send’ to route a portion of the signal to the Decapitator effects track. This allows you to control the amount of distortion blended with your original vocal.
- Routing: Ensure your Decapitator effects track is routing back to your main scream bus (or wherever your main vocal track is going). This keeps all your vocal processing together.
- Decapitator Settings: Set Decapitator to a ‘crazy’ setting to start. I often engage the ‘Punish’ button for screaming vocals and dial in a significant amount of ‘Drive.’ You can adjust the ‘Tone’ and ‘High Cut’ knobs to control the brightness and sizzle. I often like the brightness and aliasing it creates, as it adds a unique, insane texture that helps the vocal pop.
- Mix Knob (Effects Track): Crucially, keep the ‘Mix’ knob on the Decapitator plugin itself at 100% Wet. You’ll control the blend of the distorted signal with your dry vocal using the send level on your main vocal track.
- Blend in the Distortion: Set the send level on your main vocal track to minus infinity. Play your entire mix (not just the vocal soloed!) and slowly ride up the send level. This allows you to find the perfect amount of distortion that makes the vocal hold up in the dense mix without overwhelming it or sounding unnatural.
- EQ the Parallel Distortion: The distorted signal might introduce new harshness or low-end buildup. Add an EQ after Decapitator on the effects track. Find any harsh, pointy frequencies and gently tuck them under with a cut. Also, roll off any unnecessary low energy from the distorted signal to maintain clarity and headroom in your overall mix.
Before & After: The Brutal Transformation
When you compare the original thin, washed-out vocal to the processed version, the transformation is truly night and day. We’ve taken a vocal that was getting lost and made it sound undeniably brutal, powerful, and present in the mix. This journey proves that you don’t need an overly complex or expensive plugin chain to achieve professional, aggressive metal vocal sounds.
By focusing on essential cleanup, leveraging the unique character of formant shifting with Little Alter Boy, and adding controlled aggression through parallel distortion with Decapitator, you can achieve a truly brutal vocal sound that stands up in any heavy mix.
Links to Plugins Shown in the Video
Some links above are affiliate links — using them supports the channel at no extra cost to you.
Key takeaways
- A clean foundation is crucial: EQ aggressively in the low-mids, consider a de-esser for harshness, and use a limiter for gain staging.
- Formant shifting is a powerful tool: Soundtoys Little Alter Boy’s formant control (1.9-3 steps down, transpose mode) can drastically increase vocal brutality.
- Parallel distortion adds aggression: Use a plugin like Soundtoys Decapitator on an aux track, send your vocal to it, and blend it in carefully with the full mix.
- Re-EQ after processing: Always re-evaluate and EQ after applying heavy effects to maintain clarity and manage low-end buildup.
- Simple chains can be highly effective: You don’t need dozens of plugins to achieve a brutal, professional metal vocal sound.
Frequently asked questions
What are the essential first steps for cleaning up metal screaming vocals?
The essential first steps involve using a simple EQ to clean up the low frequencies, especially those caused by the proximity effect. Apply a low shelf to remove excess low-end and use a parametric band to cut out ‘woolly’ or muddy frequencies in the lower-mid range. Be careful not to make the vocal sound too thin; you want to retain some ‘chest’ for power. If the vocals are too sharp, a de-esser can help, and a limiter can be used for gain staging and level consistency.
How can Soundtoys Little Alter Boy make vocals sound more brutal?
Soundtoys Little Alter Boy can make vocals more brutal by unlinking the pitch and formant controls, then dropping the formant by 1.9 to 3 steps. This changes the character of the voice to sound more angry and intense. Ensure the mode is set to ‘Transpose.’ Adding some ‘Drive’ will introduce fuzzy grit, helping the vocals fill out space. After applying, re-EQ to regain clarity and clean up any new low-end buildup.
What is parallel distortion and how is it used for aggressive vocals?
Parallel distortion involves sending a copy of your vocal signal to an effects track with a distortion or saturation plugin (like Soundtoys Decapitator), and then blending that processed signal back in with your original, dry vocal. This allows you to add extreme grit and texture without completely destroying the dynamics or clarity of the original vocal. You control the amount of distortion by adjusting the send level from your main vocal track to the effects track, ensuring the distortion sits well within the full mix.
Want to see the whole walkthrough? Watch the full video on YouTube.


![[Rap Vocal Chain Secrets] Get Your Rap Vocals Sounding Pro](/blog/s/img/wp-content/uploads/2018/06/Youtube-Thumbnail-Rap-Vocal-Chain-Overview-3-440x264.png)
![Secrets to Mastering Rap, Trap, and Hip Hop Songs & Beats [Plugin Chain]](/blog/s/img/wp-content/uploads/2020/03/13-YT-Thumbnail4-440x264.jpg)